Fixing Pearl Part I

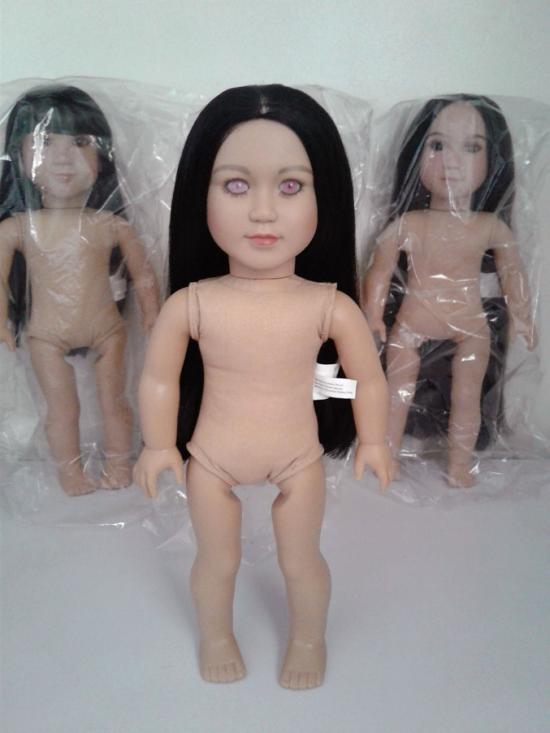
With both Berkeley and Cai successfully remade, it was time to look at My Twinn 18" Pearl and see what I could do to make her whole again too.
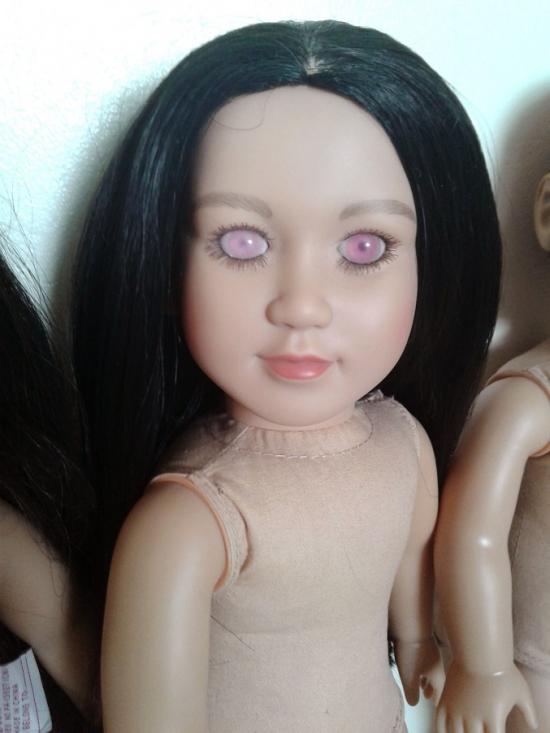
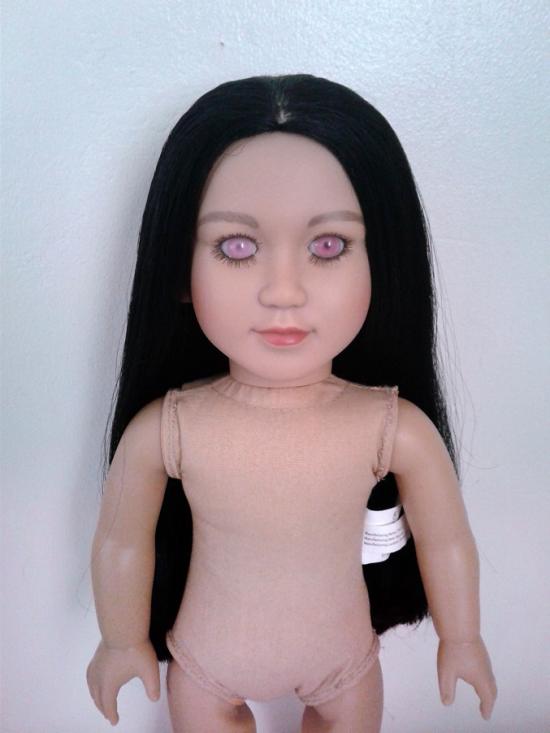
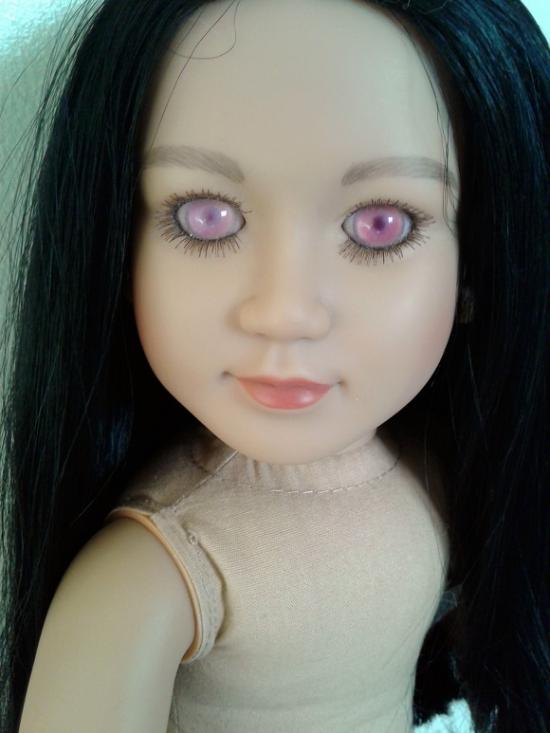
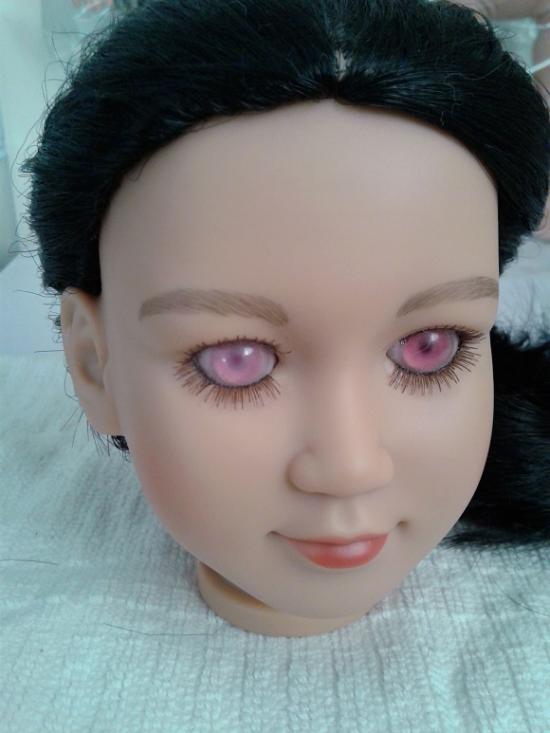
Pearl's most obvious problem was her eyes.
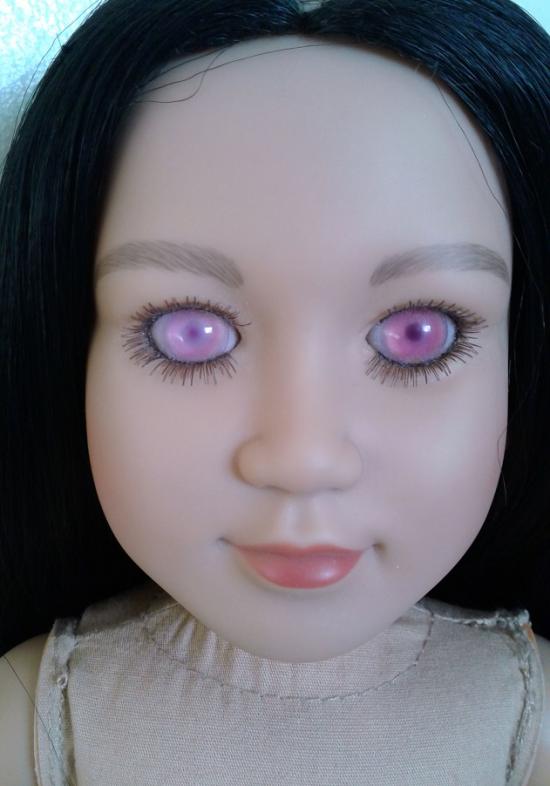
I belive they may have once been brown; they were pinkish-brown when I first got her, but they continued to slowly fade (and collect dust) over time. Compare her to this picture from just a couple of years ago.
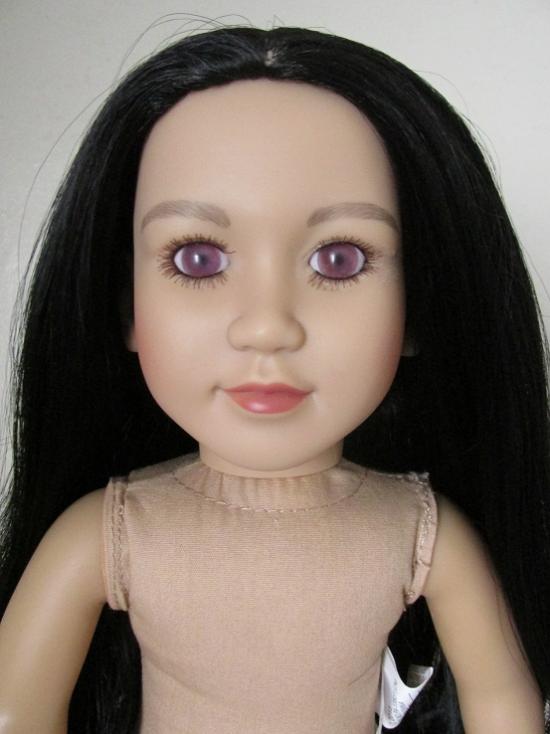
But other than her faded purply eyes, at first glance Pearl seemed to be in fairly good shape, with long silky hair that needed no major detangling or replacement (as in the case with Cai and Berkeley).
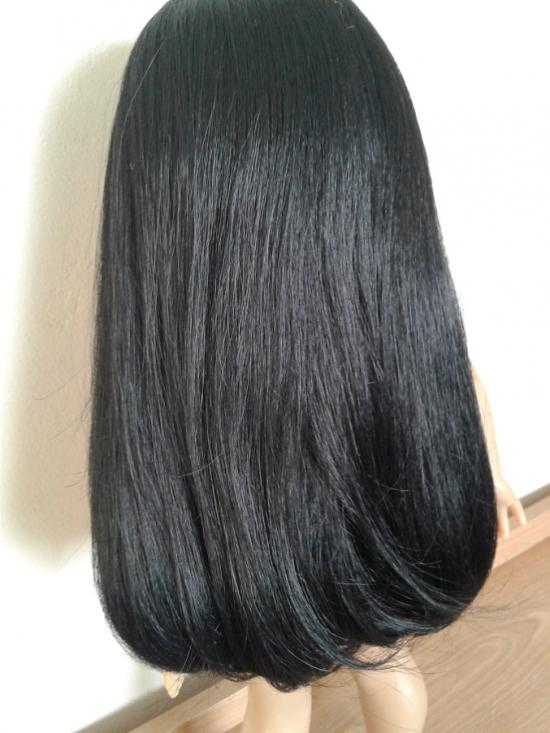
Pearl's gorgeous wig was flawless and shiny, and needed only a simple combing and styling.
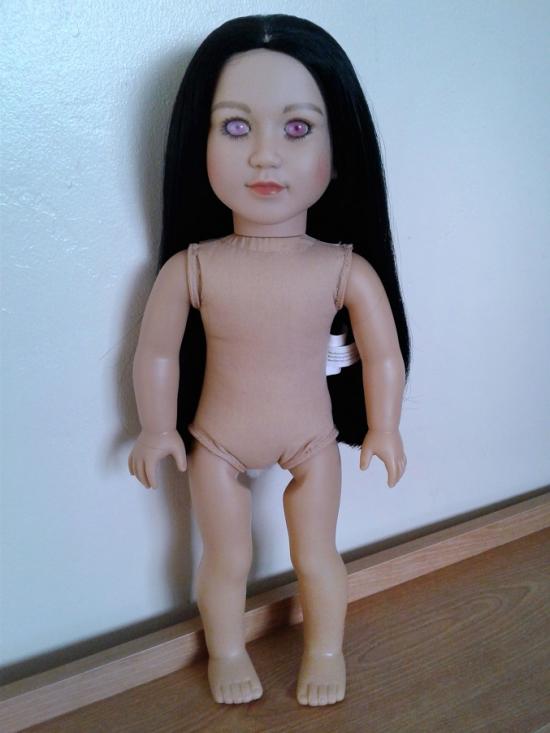
I'm just saying, even with the work she needed, I thought Pearl was still a beautiful doll.
She did however have a little bit of the same problem Cai had, with a leg joint that was a little sunken into her hip.
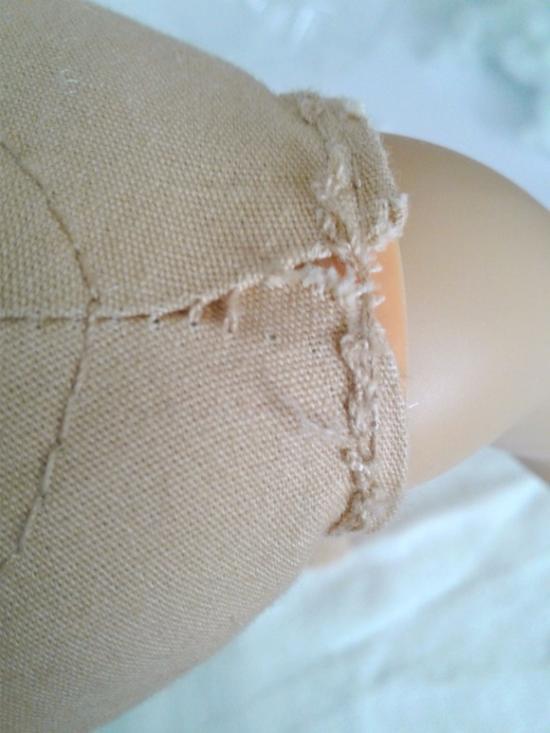
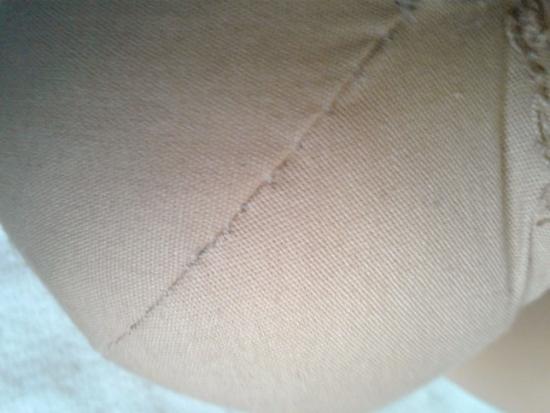
But Pearl had bigger problems than the obvious. In fact some of her cloth body seams had come undone. Both seams at the bottom of the body and also one shoulder seam had unraveled and would need some clever stitching to repair.
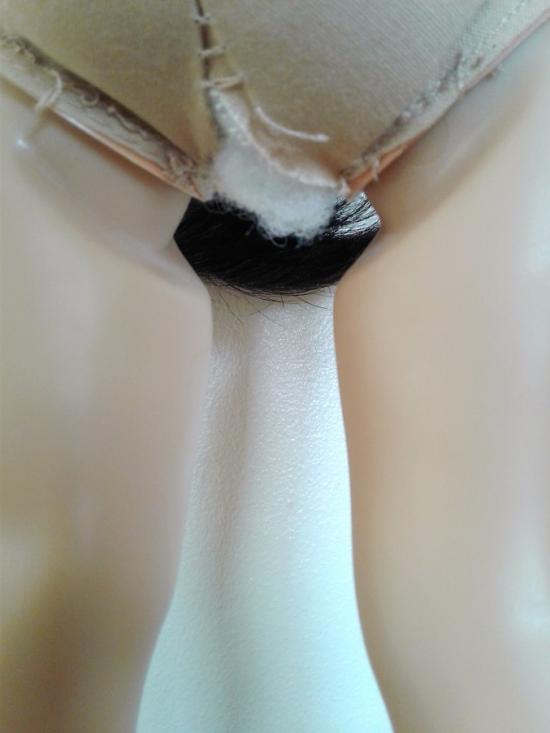
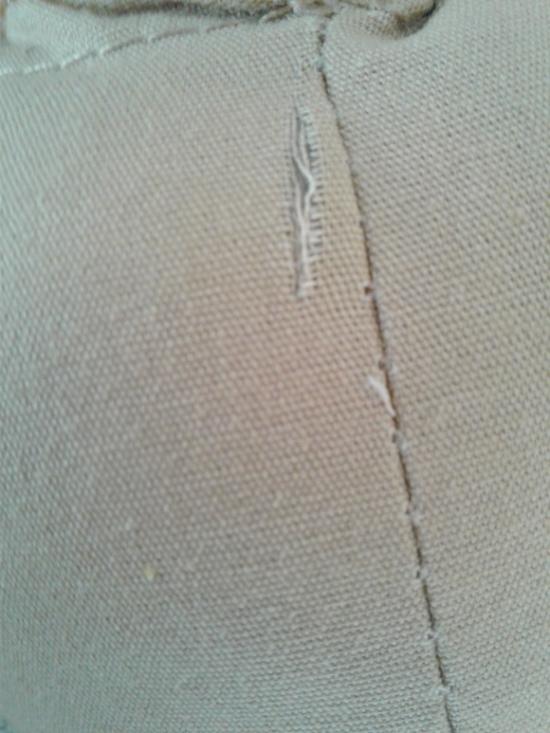
In addition, she had a small rip in her cloth which potentially presented a bigger problem. Fortunately, it wasn't a very big rip, and it was in the back below her neck tie and would most likely be hidden by her clothes in the end.
At the least, I had a pretty good idea how to fix the unraveled seams, so I began that part of Pearl's restoration first. I started by unstuffing her to have a look at the leg joint, which as I suspected was just a matter of displaced stuffing. Easy fix.
Then I carefully restuffed her, redistributing the stuffing around both leg joints, while trying to keep the seams from unraveling further. That part went fairly well.
I did consider trying to stitch the seams from the inside while I had the her unstuffed. But the placement of the vinyl legs and arms didn't really leave much room for maneuvering, so I thought I'd have better luck repairing the seams from the outside.
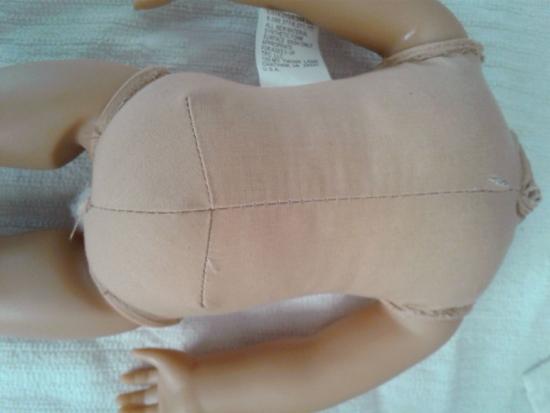
That part was easy enough to do using a ladder stitch and matching thread. The repairs were mostly invisible when done.
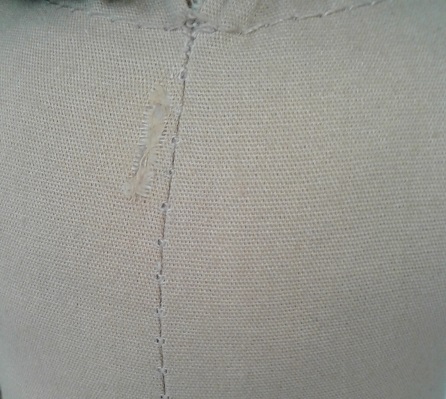
The rip however was going to need a patch of some kind. I ended up cutting a small piece of interfacing and used Fabri-tac to fuse it to the edges of the tear from the inside. The fabric adhesive seemed to hold the patch and frayed edges really well, but the sealed rip was more noticeable than I hoped it would be.
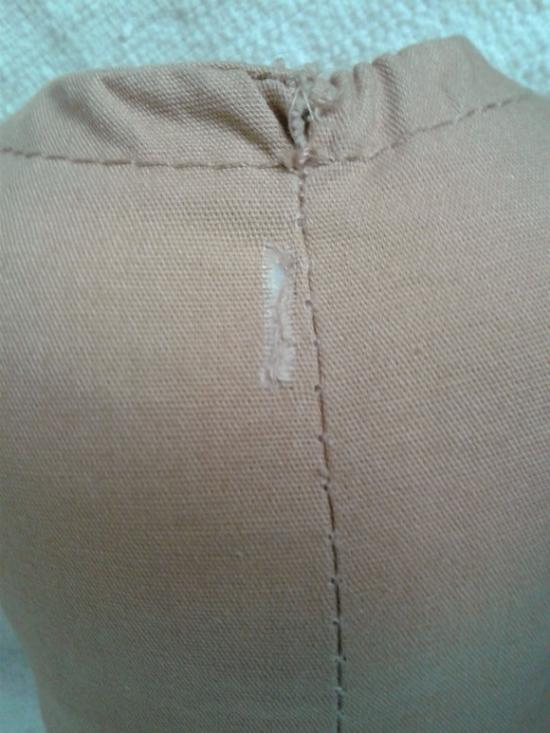
It was mostly the color difference. On hindsight, I considered I should have cut a small piece of the inner seam of the cloth body to lay between the rip and the patch to make it less noticeable. But by the time I had thought of it, I had already put Pearl back together.
Instead, I tried a little matching paint stain to camouflage the patch.
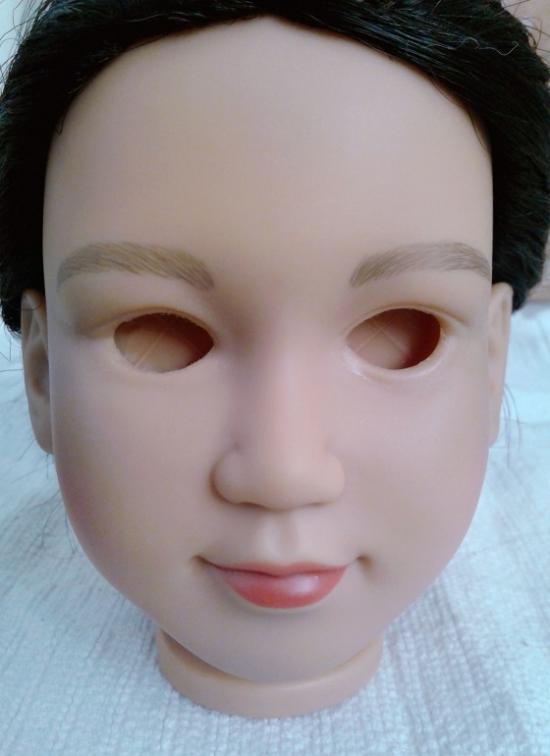
Meanwhile, with Pearl's head already detached from her body, it was time to replace her spooky pink eyes.
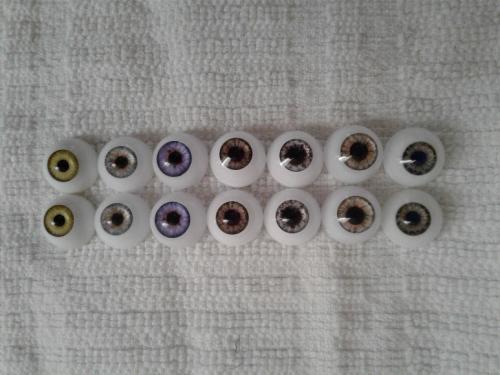
I wanted to pick just the right eye color for Pearl. Many of the Pearls I've seen around the web have really stunning eyes, and I wanted this Pearl to be in that same spirit. These were the initial acrylic eye colors I was considering.
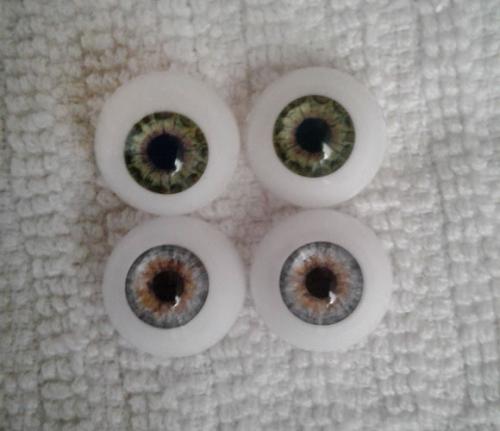
Some of them I eventually eliminated because they were a little too whimsical or fantasy for this project, and others because I thought they might be more suited for Kim who I would be restoring next. In the end I narrowed it down again to these two colors, a pair of hazel green eyes by Glastic, and gray blue eyes from Kemper.
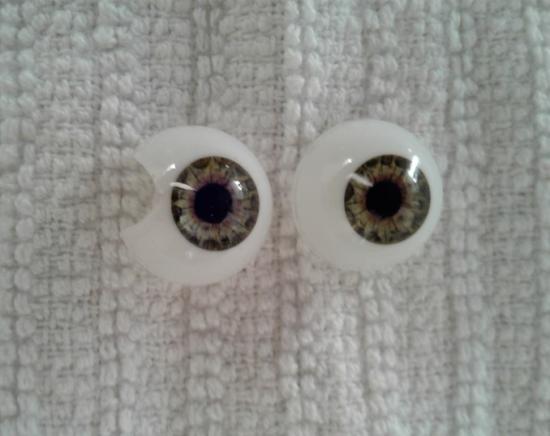
Next, out came the old eyes. At the last minute while the vinyl was still pliable from the heat, I decided on the hazel green eyes, as I thought they would stand out more than the lighter grayish blue eyes.
But yikes, when I tried to get the first eye into her head, it broke! (The eye, not the head.)
That was super disappointing, as I really liked this color and had finally settled on it. I also didn't have another set like it, so it was clear that hazel green just wasn't going to happen.
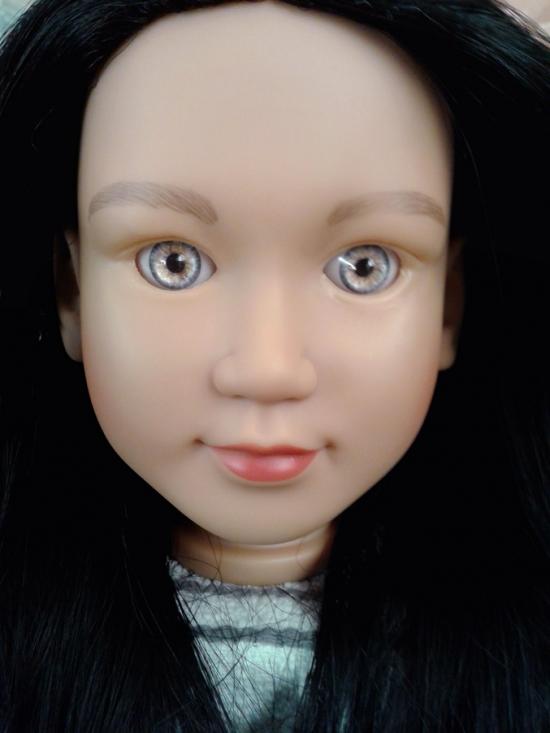
I fell back on my second choice, gray blue.

To be honest, I wasn't 100% sure about these eyes when they first went in. They were lighter than I thought they would be, and I was worried the darker eyelashes and liner I planned to give Pearl would overwhelm the paler color.
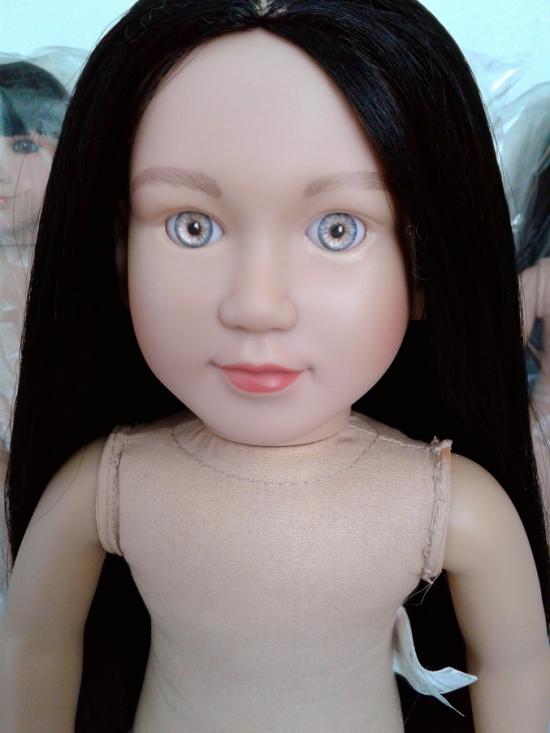
But the eyes were very pretty. And while they weren't my first choice, they did look kind of striking with Pearl's black hair. The color is officially called "Gray Blue," but it's really kind of a Gray Blue Hazel, and almost luminous.
Also, I noticed that while changing Pearl's eyes, her eyebrows had apparently faded a bit. This also happened with Cai when I applied heat to her head. I'm not sure why the heat would cause them to fade, but they did, even as I tried to not touch the paint in the process. This again was disappointing because I absolutely loved Pearl's gorgeous eyebrows; I felt they had the perfect shape and I wanted to be able to retain the style as much as possible during the restoration.
A this point, I put Pearl back on the shelf and gave myself a day to consider how I would restore the eyebrows, and also decide if I really wanted to keep these new eyes or not. I figured the hardest part of Pearl's restore was done anyway and I'd be able to finish up whatever was left the following day. (Things don't always go the way you plan.)
In Fixing Pearl Part II, I make a final decision on Pearl's new eye color, as well as address her fading eyebrows. I also have a few home adventures along the way!
Add new comment