Little Raven's Armature Guide
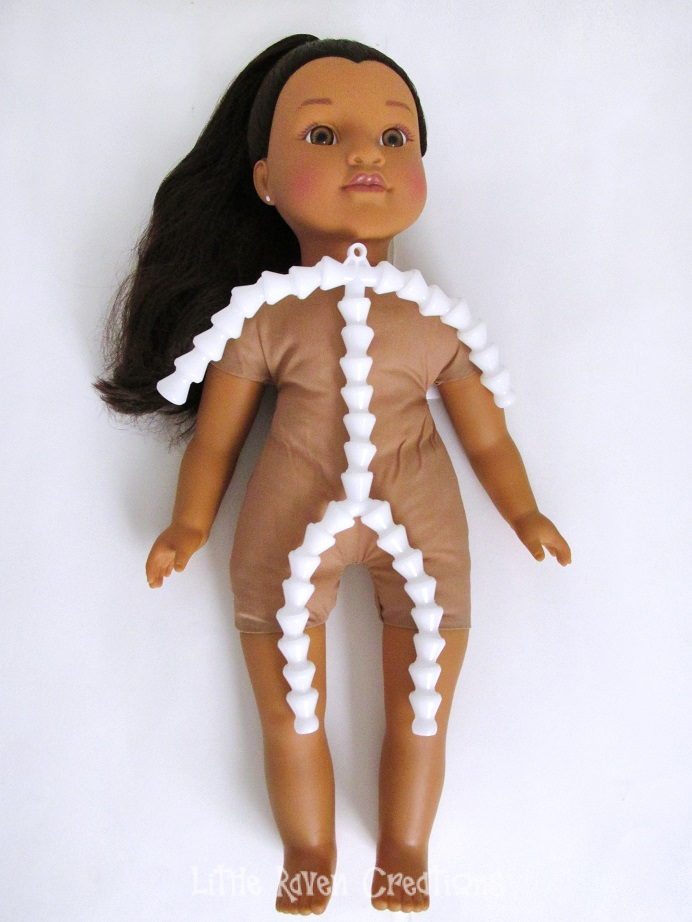
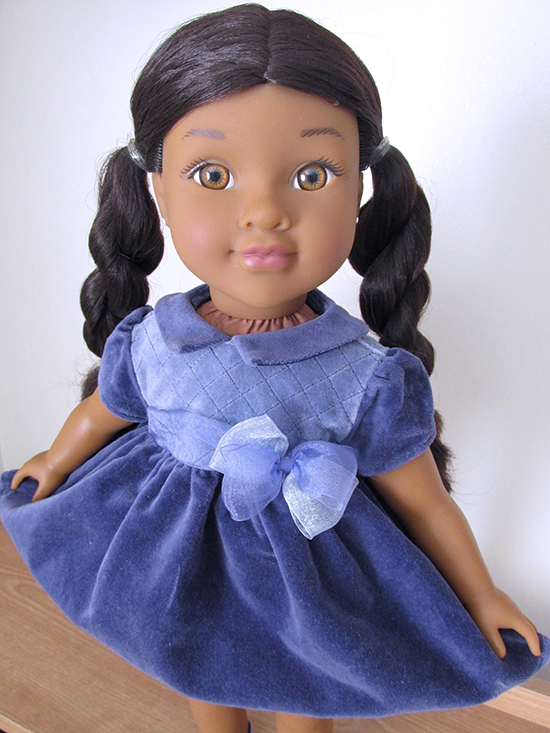
Greetings at the year end, friends! Here is my doll armature procedure guide at last, using an old school Positively Perfect Divah Abrielle (and Taylor and Diana) doll as my model. Positively Perfect Divahs are beautiful dolls, but they don't have the best body styles for posing or showing off fashions, and some cloth bodies can slump and sag over time, making them fairly unworkable for much.
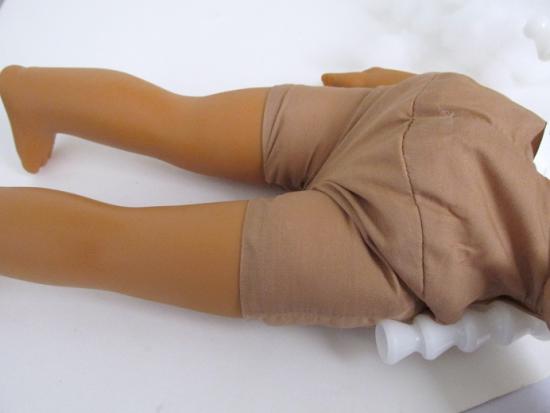
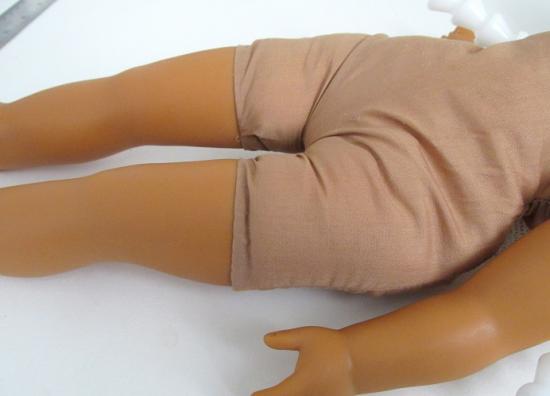
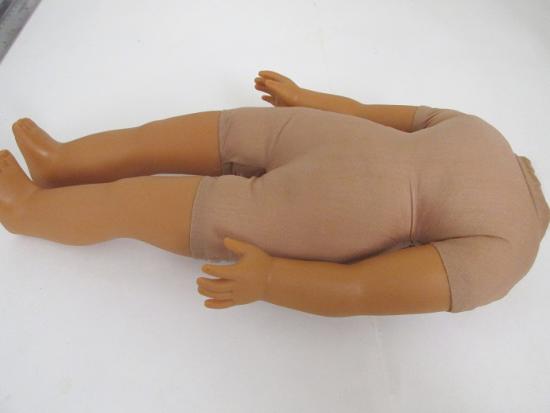
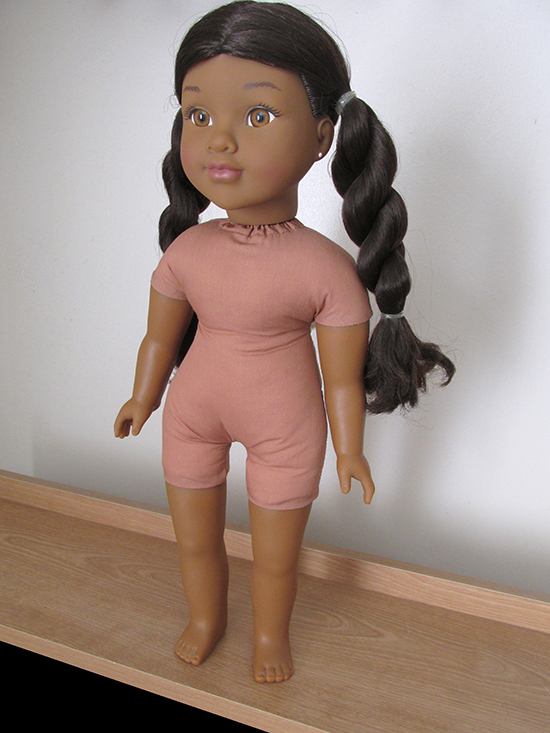
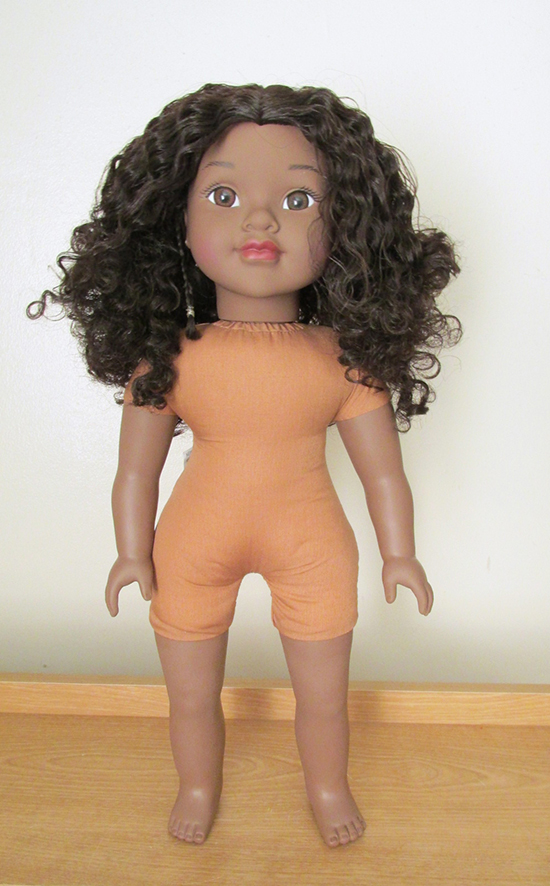
 My latest Abrielle needed help.
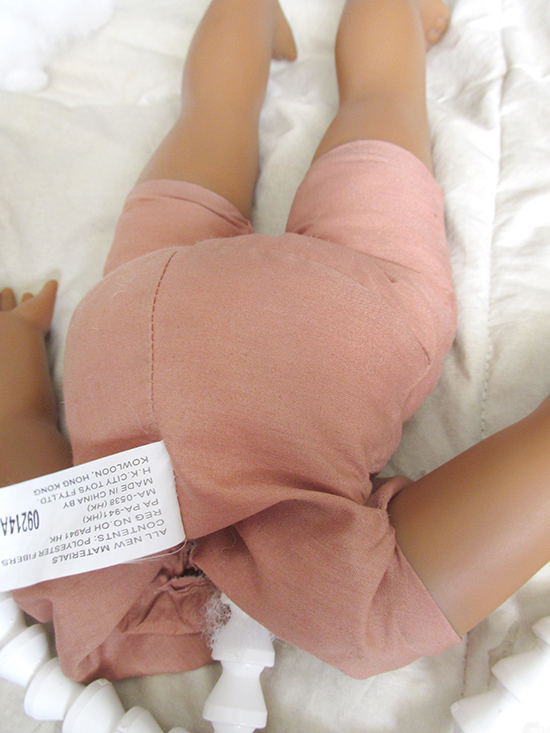
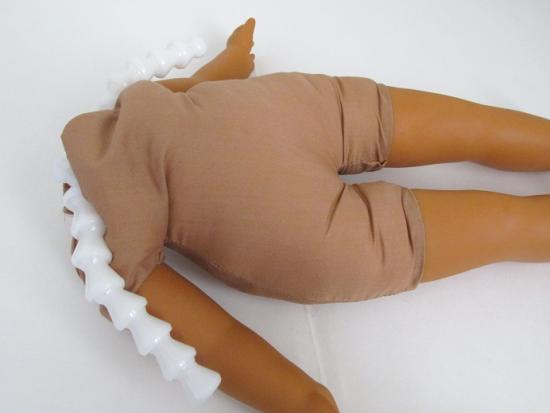
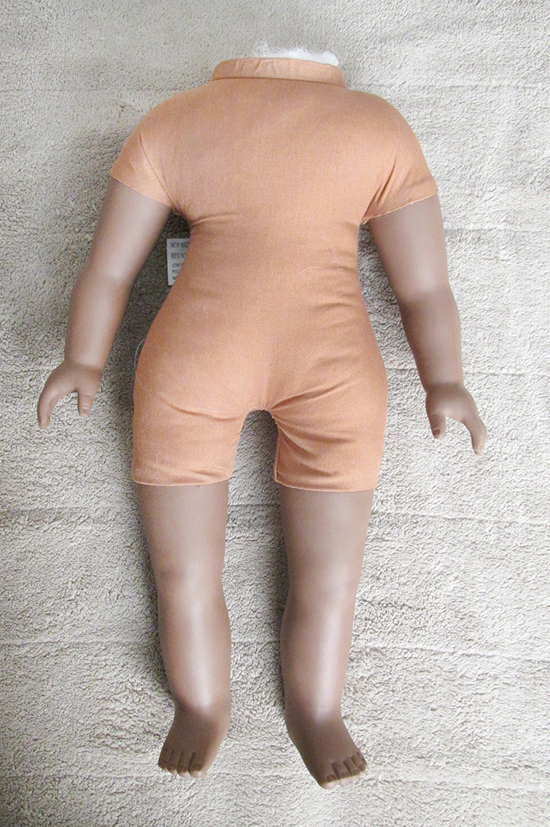
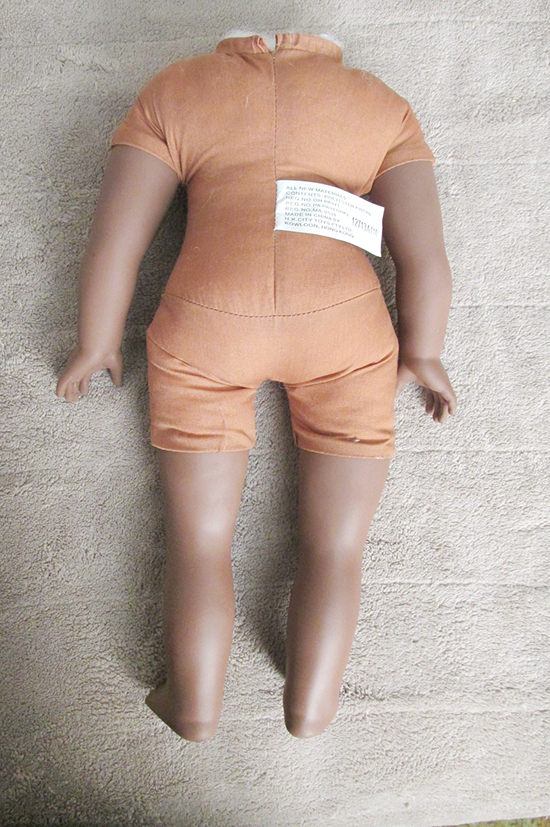
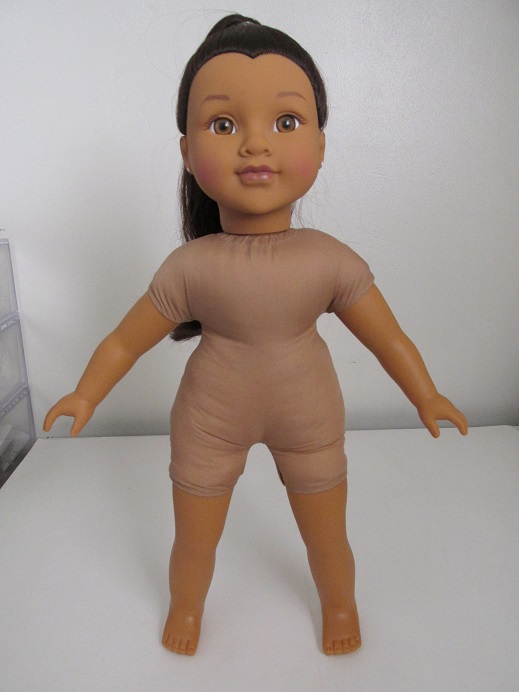
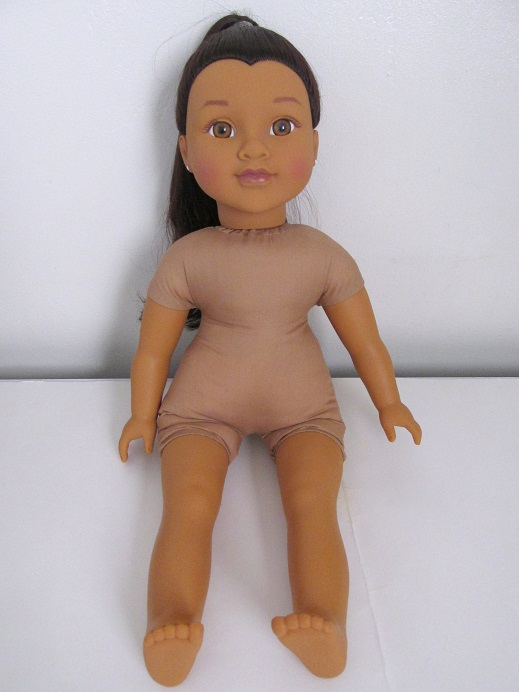
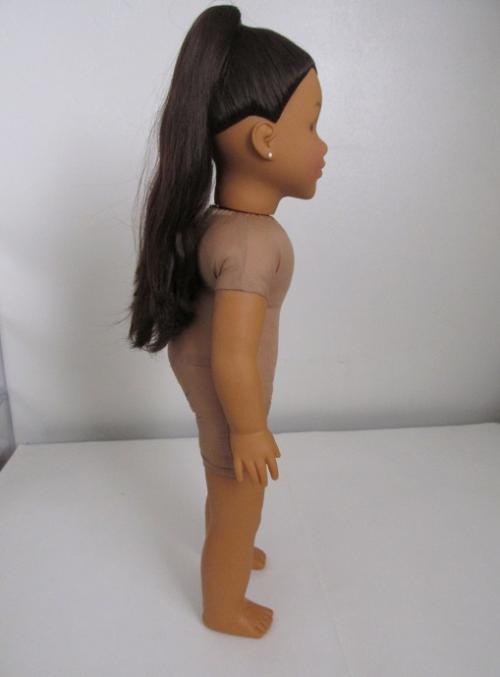
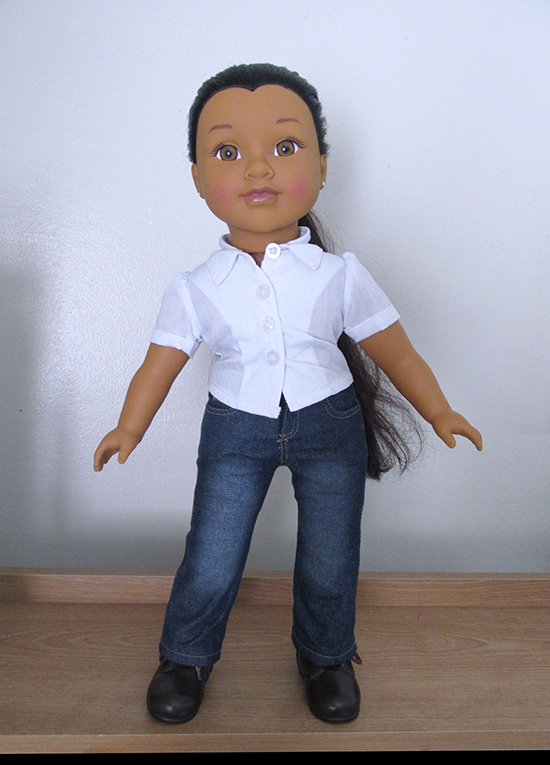
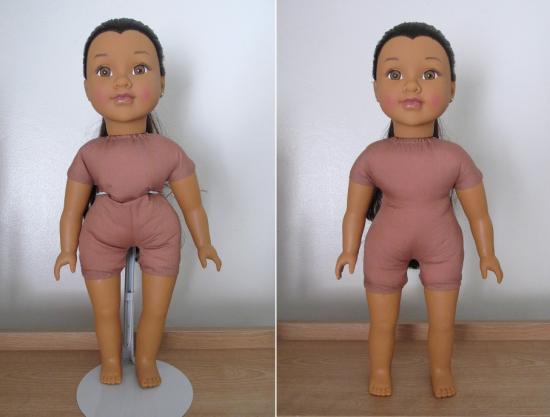 Before and After: My original Abrielle got her armature a few years ago.
So giving a soft-body doll like this an armature might be a good thing, plus it's a decent option for bringing them closer in line with popular 18" dolls like American Girl. My Life As, and Our Generation.

Although I'm using a Positively Perfect Divah doll for this guide, the same steps apply to most non-jointed 3/4 vinyl limb dolls in the 18" range. Some dolls may have thicker vinyl which will require extra work, but the process is the virtually same for all of them.
What You Will Need
Before you begin this procedure, you want to make sure you have everything you need ready on hand. Fortunately most of these items are easy to find on eBay, Etsy, or Amazon. Some can be found at craft shops like Hobby Lobby or Michaels.
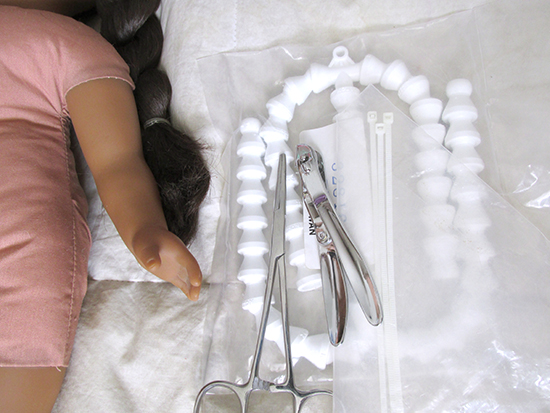
The plastic armature itself can be gotten from doll supply/ reborning shops if you can't track down one at the aforementioned shops. Just be sure that it is a plastic armature, as there are wire armatures as well, which require a procedure that I don't cover here.
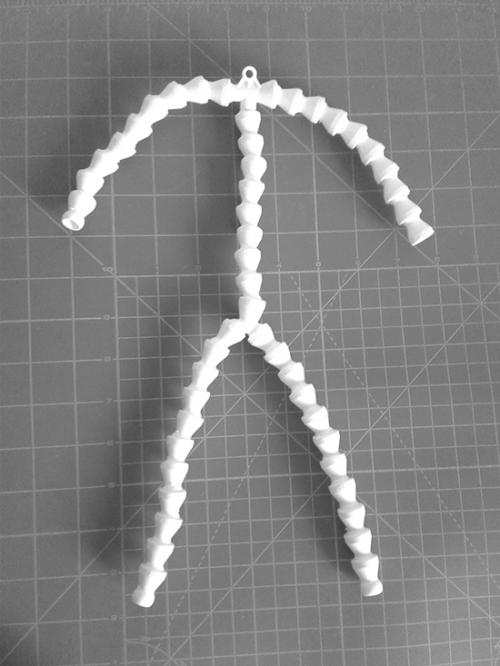
In addition to the lengths, armatures can run different thicknesses. For 16"-18" length, 1/4" - 3/8" is most common (this is the inside diameter of the bead at the smallest point). However, I find this measurement less important, as either will work well enough. Admittedly the thicker ones will be more sturdy in holding up your doll's frame, but they might also be harder to insert, so use your best judgment for the particular weight of your doll. In my case, I used whatever I had on hand which was 16-18" | 1/4".
You will also need plastic cable ties, the kind used in reborning.
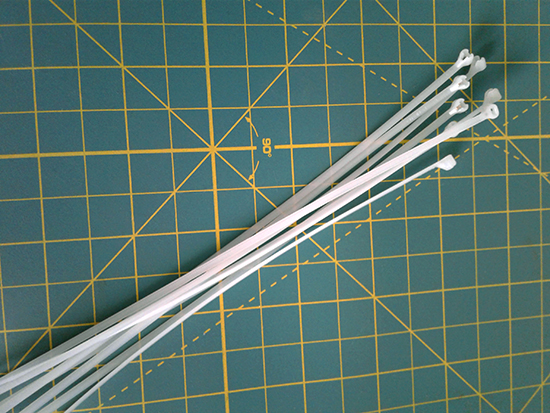
They come in different widths and lengths and sometimes even colors. Remember that you don't want anything too heavy duty, as some plastic cable ties are made for much bigger jobs. You want a fairly narrow tie with a small head so it doesn't stand out too obviously under the cloth body. (For two of the procedures, I used the larger head version below because it was close to the original worn by the Divah.) If you aren't sure which kind to get, look specifically at doll and reborning supply shops. The cable ties should also be long enough to go around the doll's neck easily with a lot of slack, about 12" - 14".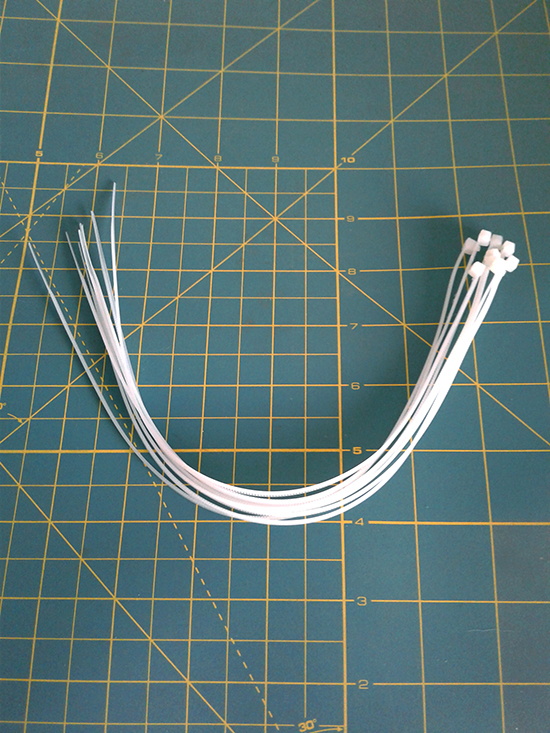
You may also also want some additional Fiberfill stuffing, depending on the doll. The old Positively Perfect Divah dolls are often stuffed very loosely and can benefit from a little extra padding. But other dolls may not need any additional stuffing. Heidi Ott dolls, for example, use very tightly packed cotton and probably won't need any Fiberfill.
You probably also want to use a stuffing tool. Fiberfill bags often include a courtesy stuffing stick. But if not, you can use a chopstick or other long thin sturdy, non-pointed object (I use an old drum stick) to get into the tight corners when re-stuffing your doll. Just be sure that whatever you use, it has a smooth safe rounded end so you don't accidentally pierce or rip the doll's cloth body while you're prodding around. That would just be sad!
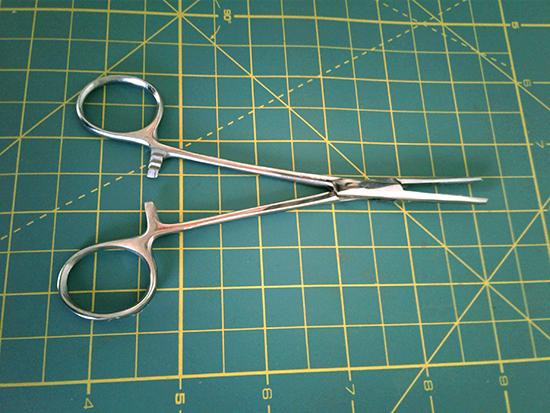
Finally, you'll want a couple of basic tools like a hobby hemostat for grasping and manipulating cable ties, and side-angled clippers for easily cutting down the excess ties when you are done re-stuffing.
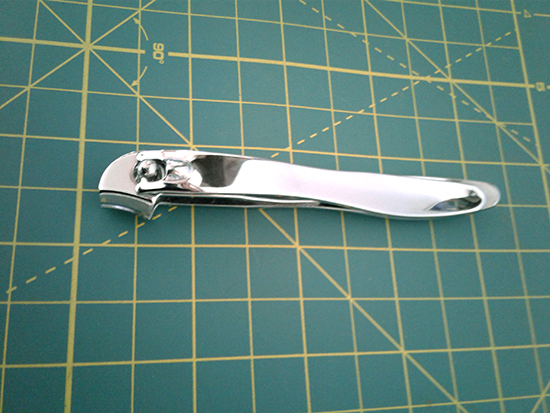
If you can't find side nail clippers, regular nail clippers will work well too. You should also have something for cutting and removing the old cable ties. A sharp X-Acto or hobby knife works well for this, just be careful not to slice the doll's vinyl in the process! Also, if the old cable tie is on very tightly, you can use a nail file or other thin flat object to help pry it up and away from the doll's neck so it is more accessible.
Oh right, and if your doll has long hair, you'll want to pull it up into a pony tail to keep it out of the way. Shorter hair may need hair clips or hair pins, depending on the length, but try to keep the neck area free.
Important! If you are a minor, please get permission from an adult to do this procedure, and preferably get that same adult to help you! Also, I realize that some people are sensitive about dolls being dismantled, so viewer discretion is advised for anyone who might be affected!
Okay, that about covers the preliminaries, so let's get started!
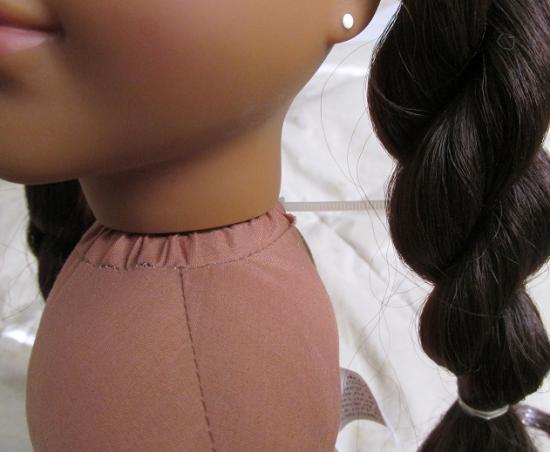
Remove the Head
It sounds pretty horrible, but it's a necessary evil to remove the head in order to insert the armature. So begin by placing the doll face down on a clean, flat surface. Use a towel or other padding under her face so the friction doesn't scratch it.
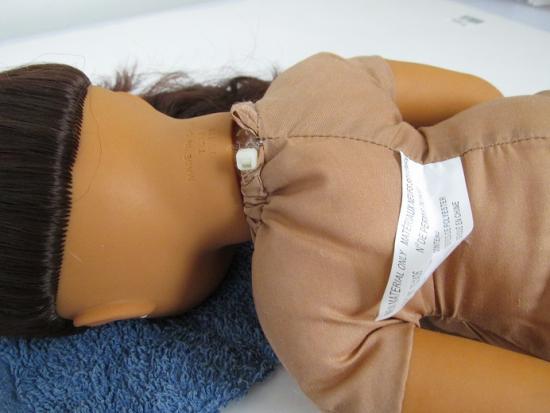
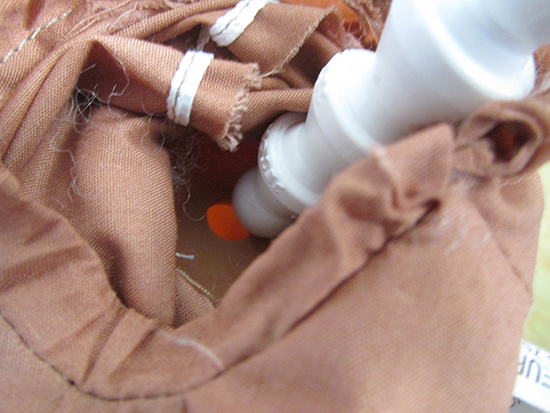
Locate the old cable tie. You might have to push the cloth around the neck back to reveal it, depending on the doll and the type of tie used. Divah's are fairly easy for this, but other dolls might have very intricately hidden cable ties. (Some soft-bodied dolls like Gotz or Heidi Ott use tightly knotted string in their neck joints, in which case you'd want to untie the string rather than cut it.)
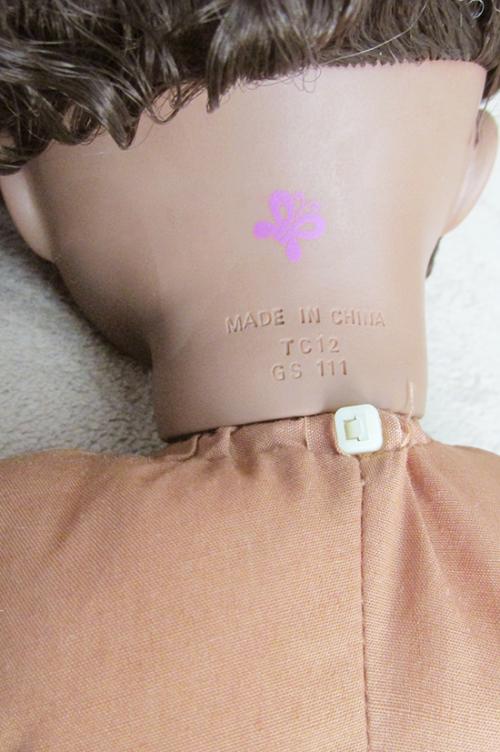
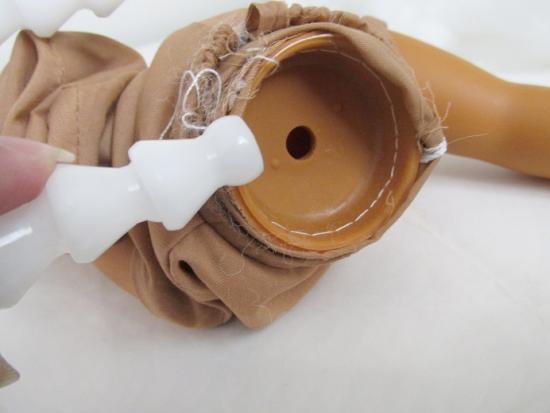
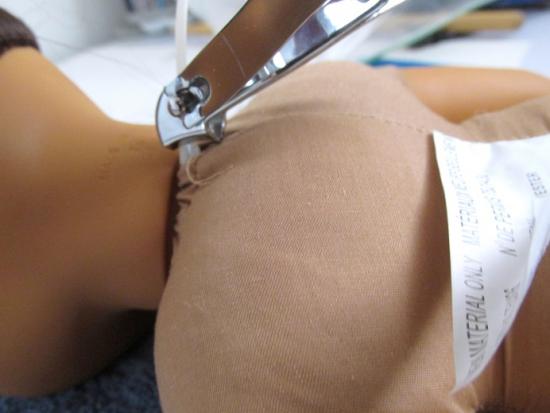
Once the plastic tie is exposed, carefully begin cutting into it with a sharp, clean X-Acto knife (mine isn't either oops). If necessary use a nail file to pry up the cable first and then cut around it. Clipping the old cable tie is sometimes the trickiest part of the whole armature procedure.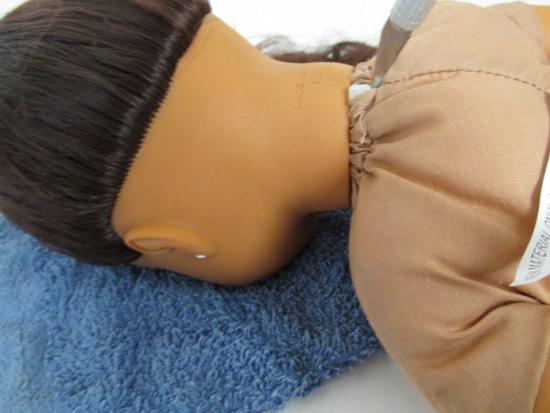
Once the old cable tie is severed, the head is easily removed. Some dolls may have a neck support made of cardboard or vinyl attached to the head, depending on the doll. Remove it and set it aside.
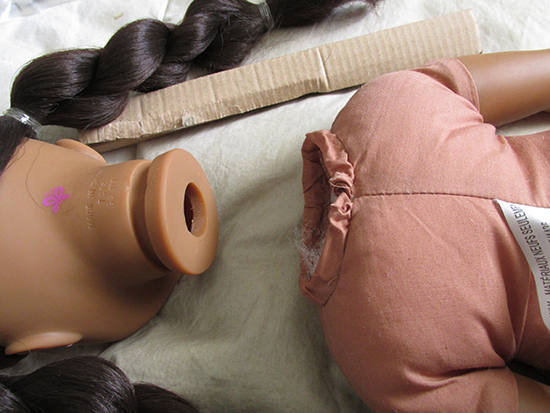
Also set the head aside where it won't be damaged or get in the way of the procedure.
You can also remove the old cable tie now, although I sometimes like to leave it in temporarily to help guide the new cable tie.
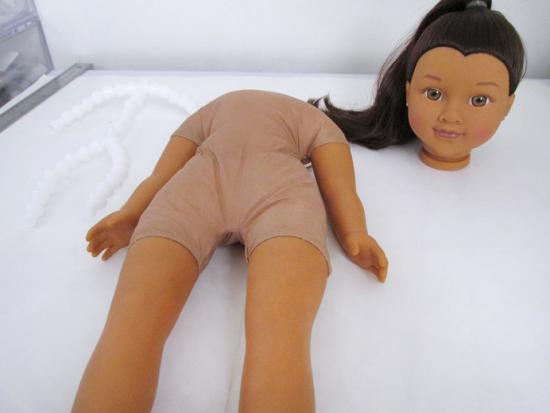
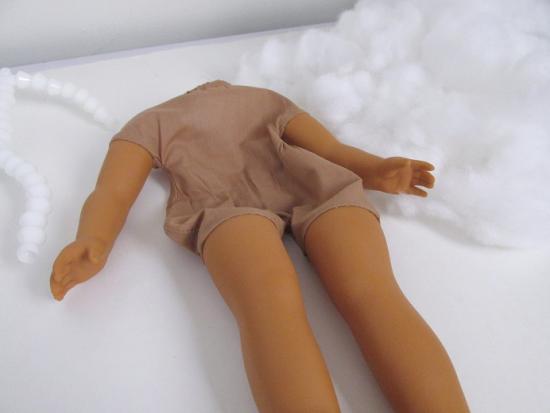
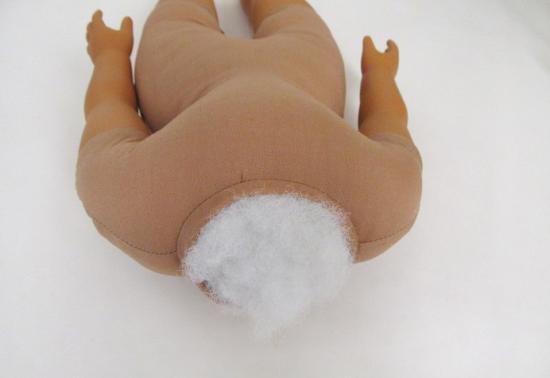
Remove Stuffing and Prepare the Limbs
Remove all the doll's stuffing, especially where the vinyl meets the cloth at the arm and leg, as you'll be working in these areas, and will need it to be clean.
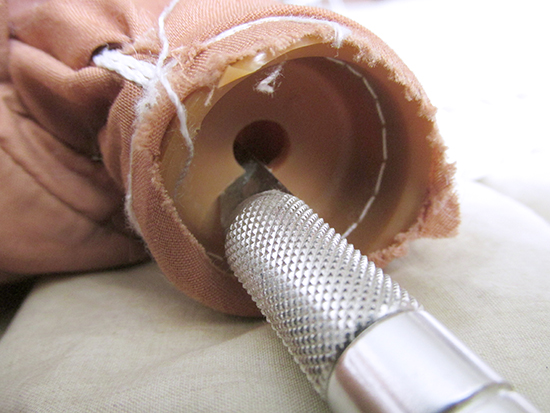
Now push the inside of one of the legs up through the neck, as far as it will go because you'll need to be able to access the area.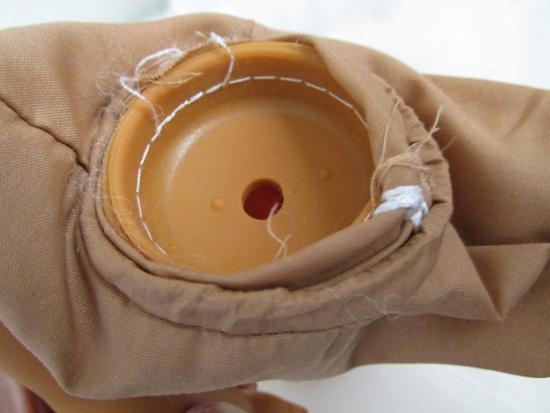
Look at the width of your armature and get a sense for how much you will have to adjust the hole at the end of the leg to get it to fit through. You should never widen it more than you need to.
Now take your X-Acto knife and carefully cut two slits on opposite sides of the hole. Cut them long enough to let the end of one of the armature feet slide through. Do this to both legs. Then do the same to the base of the arms, making the slits long enough to allow the armature end to fit inside.

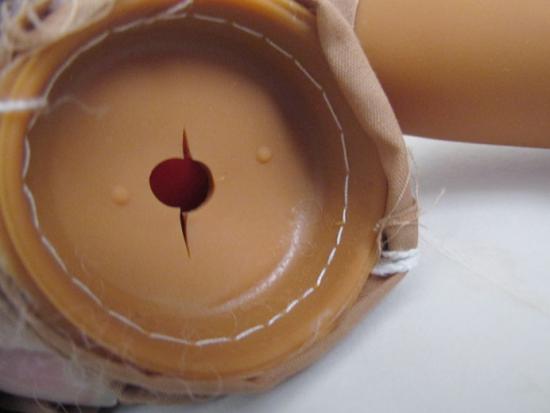
Try to cut the vinyl very slowly, as sometimes you can lose control and slice all the way across if you get too much in a hurry. If that happens, it's not a major deal or disaster, but the armature end may slide out of the limb as you are working on re-stuffing the doll and may need extra monitering or adjustment.
Note: Some 3/4" vinyl dolls may have very thick /stiff vinyl that will be difficult to cut and would also not be flexible enough to allow the armature to slide through anyway. In this case, the hole will have to be carefully carved a small bit at a time until it is wide enough to fit the armature. This can be tricky and time consuming, so be sure you have the time and energy to complete it if you are working on a doll like Heidi Ott's Faithful Friends, etc.
Insert the Armature
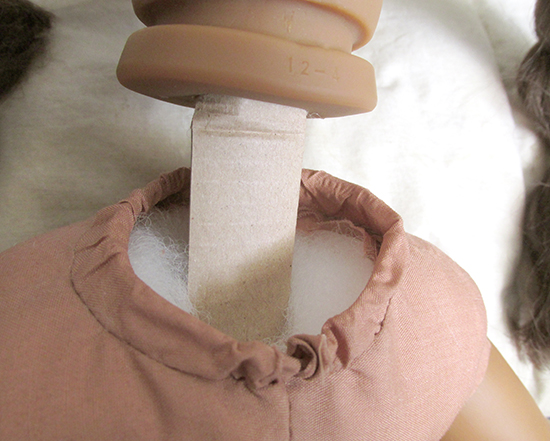
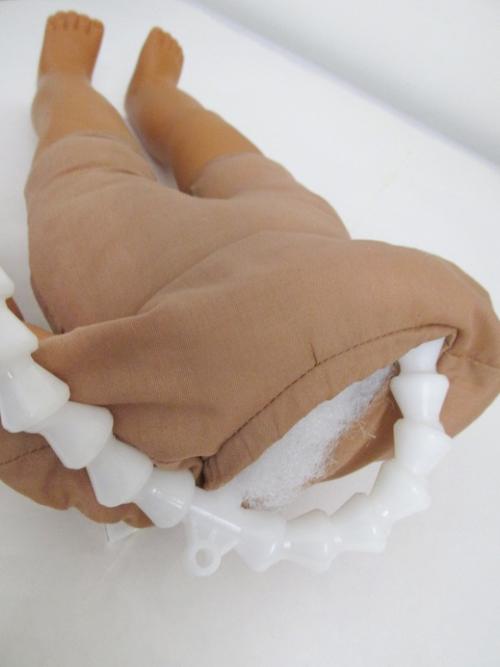
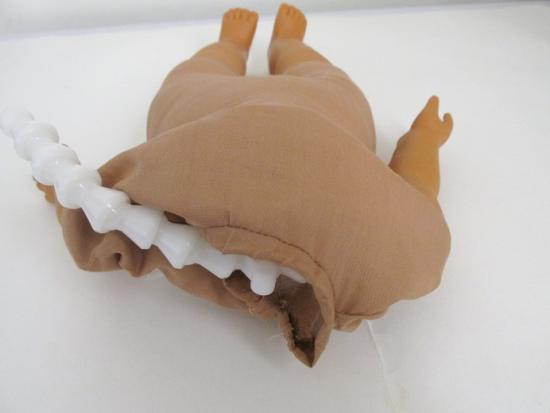
Push the ends of the armature legs into the adjusted holes of the doll's legs.
Carefully slide them both through until there is a small clearance at the crook of the armature to the top of the dolls legs. You will need that extra room to position the doll's legs and allow them easy movement. 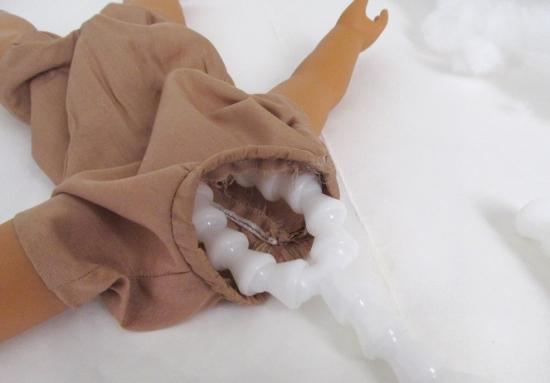
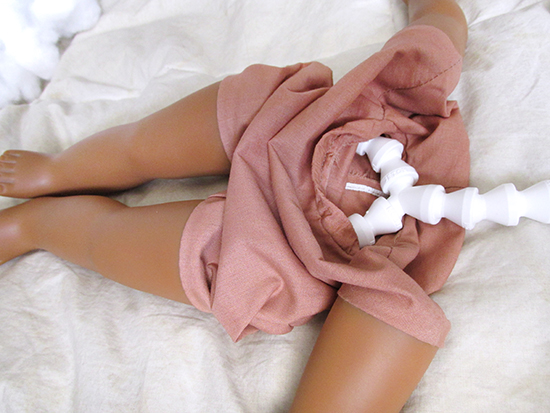
You don't want to push the crook of the armature all the way down, but most of the way. You also want to be sure both legs are evenly pushed in. Count the beads from the crook to the hole if necessary to make them even.
Begin Re-Stuffing.
Don't insert the armature arms in yet! You need the neck opening and chest area as free as possible to stuff the lower body effectively. Once the legs are mostly in, begin re-stuffing the area around the thighs. You want to be sure the "bony" armature can't be easily felt through the cloth, so try slowly adding the stuffing around it, padding out the cloth body in a natural manner and hiding the armature in the process.

Turn the doll around several times during this step, padding out the back end, thighs, and hips evenly. Use the stuffing stick to get into tight places. Try not to bunch the stuffing if possible to avoid obvious lumps under the cloth.
Pay special attention to the backside of the doll by giving her a little extra fill to pad out the expanded cloth and make her look more natural.
Stop when you reach the waist. Double check that the armature has not slid out of one leg more than the other, or she will look uneven and not stand well. Adjust if necessary.
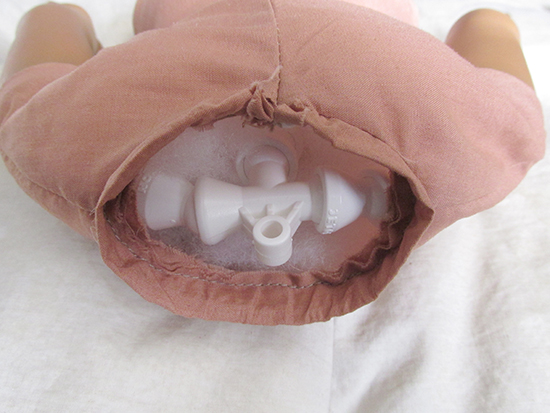
Now insert one of the armature arms into the doll's arm, pushing it through so that the central spine of the armature sits in the middle of the body. You may have to wrestle with it a bit, especially if the neck opening is small. Be careful not to damage or rip the cloth in the process.
Repeat with the other arm.
The doll should now be able to stand on its own, depending on its foot size, style, or the doll's vinyl weight. Most dolls do. If not, check again that the armature legs are evenly inserted into the dolls' legs.
Complete the Re-Stuffing Process
Continue re-stuffing the doll, filling out the waist, chest, arms and shoulders carefully and hiding he armature well within the stuffing so it can't be seen or easily felt through the cloth.
At this point, if you feel the doll needs more stuffing than her original amount to fill out the cloth, use the extra Fiberfill. Use large swaths and push it carefully over any bunched stuffing to help hide any lumpiness that may have formed under the cloth.
If you still see obvious lumps under the cloth, try using the stuffing stick or even the hemostat to grab bits of clumpy fill and move it to any hollow depressions under the cloth to form a smoother look. Turn the doll around several times during the process to monitor how the stuffing is being distributed from all sides. Move the stuffing around if necessary, or take out and put back in.
Also try switching hands during the stuffing process to help keep the doll from becoming lopsided from a dominant hand. Stuffing dolls is more of an art than a science, so work carefully and use your best judgment to determine how and where to fill the cloth.
Tip: If you want the doll to be able to sit afterwards, don't stuff her legs and hips area too tightly. You have to find the fine line between a smooth, natural look and having sitting room.
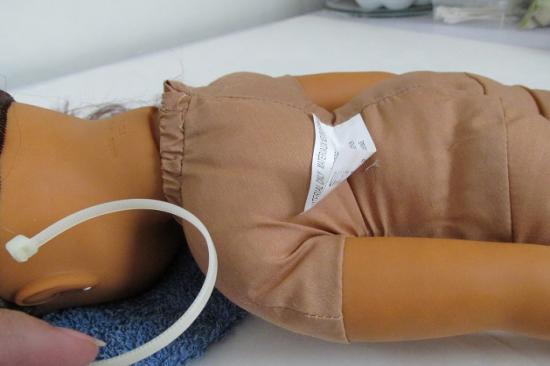
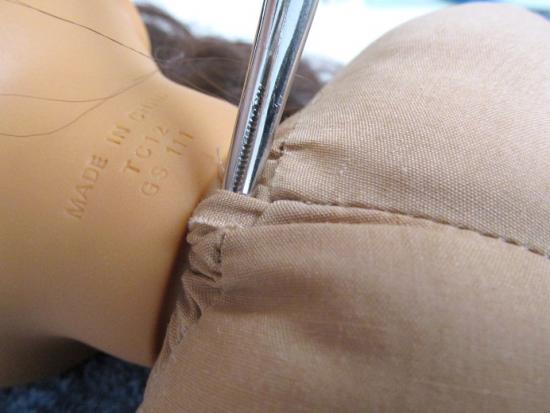
Finally, pack a little extra stuffing around the neck, to keep the doll's head from sagging when the fill begins settling. Don't pack so much you'll have trouble getting the head back on, but enough that will allow her head to remain stable, even over time.
Now take your cable tie and check that it is positioned correctly, usually with the protruding part of the head facing outward, and feed the narrow end of the cable tie through the opening in the cloth around the neck. If you kept the old tie in from earlier, you might find it works well as a guide to help the new cable slide through. Just be sure to remove the old one when you get the new one in! I once forgot to do this and the results weren't too pretty, so I had to remove the new tie and do this step over again. (It's good to have several cable ties on hand.)
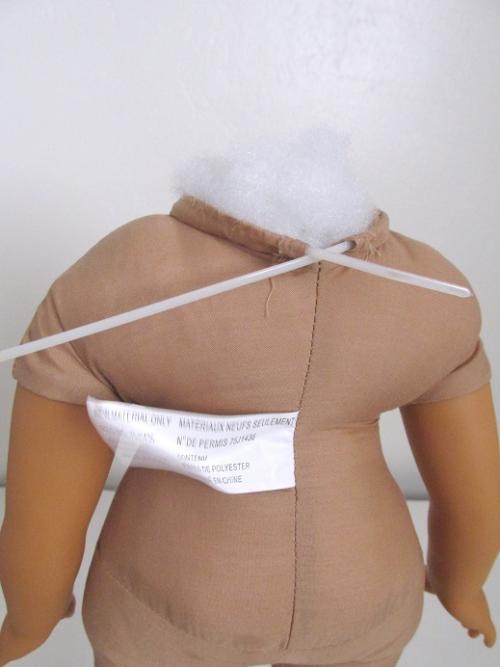
Thread the end through the cable head, and pull a little to begin closing, but leave the loop plenty wide enough to fit the neck of the doll through the opening of the cloth body. Hold the head in place at the neck so that the stuffing is tucked firmly undeneath it and is not coming up around the sides, and slowly tighten the cable until it closes around the neck. (I like to clamp the hemostat to the cable for leverage so I can grip and tighten with one hand while I hold the head with the other hand.) Important! Don't tighten it too much just yet!
Finishing Up
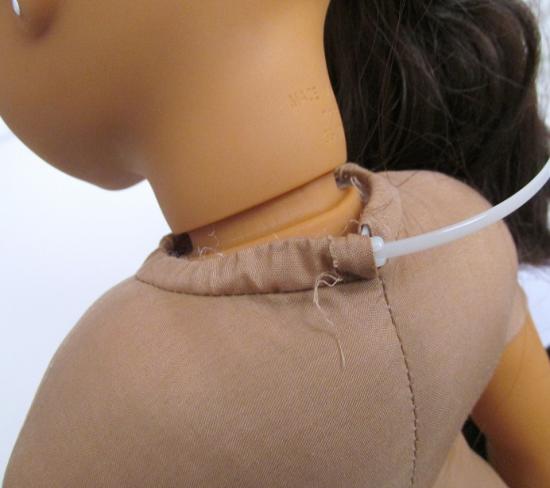
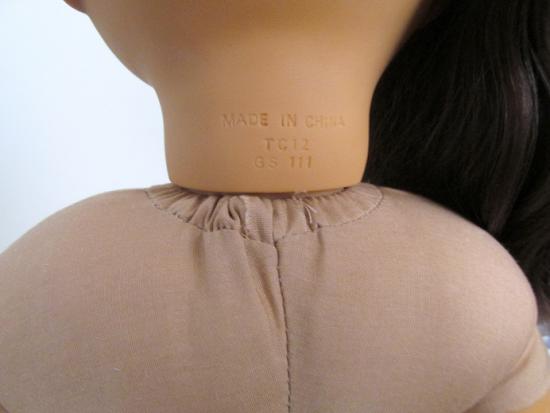
Check to see that the doll can easily turn her head as you continue to tighten. You may have to tighten a small amount every so often while repeatedly checking the movement of the head. The head should be attached firmly but still be able to turn. When it reaches that point, stop tightening.
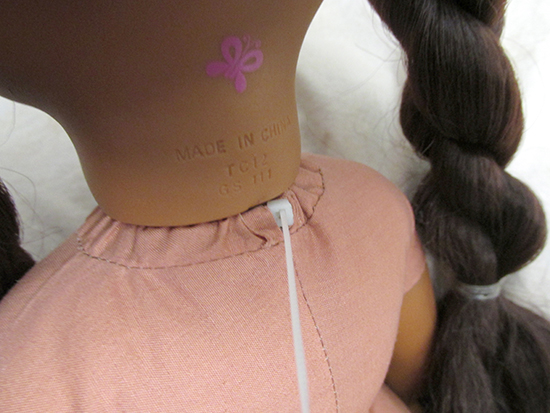
Lay the doll face down on a towel or padding again and clip the excess cable very closely with the nail clippers. The clipped area should feel smooth. If it's pointy or jagged, clip again.
For a cleaner look, try to push the visible cable head into the tunnel of the cloth. You can use a hemostat to help guide it and then pull the cloth back over it. Work carefully and try not to force, as the cloth around the neck can be fragile.

Finished!
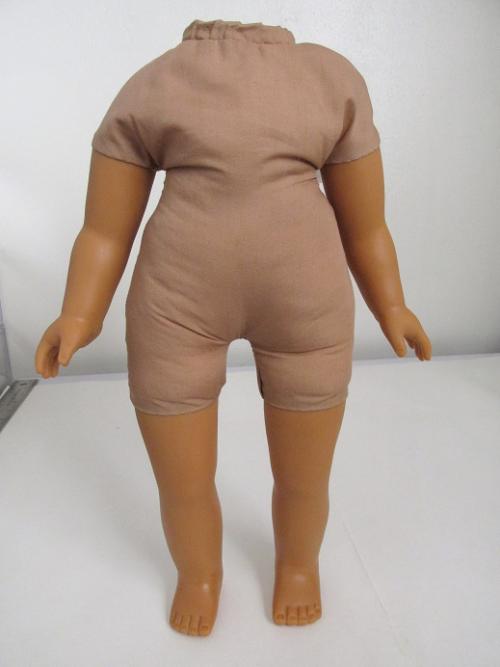
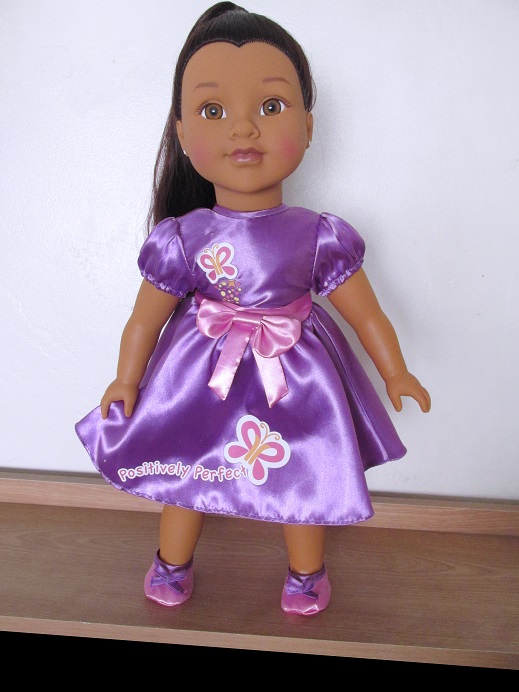
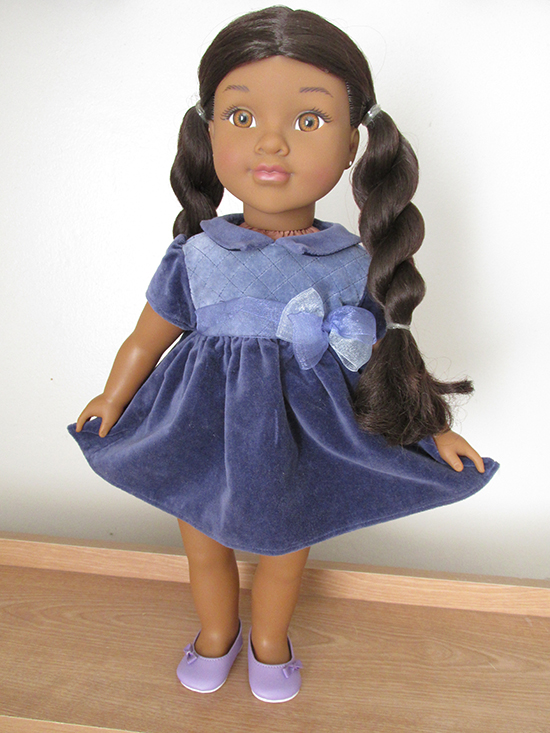
That's it, you're done! Your doll should now be able to stand, and maybe to a lesser degree pose, based on the type of cloth body she has.
Positively Perfect Divahs have a very, non-stretchy woven cloth body with limited movement at the shoulders and hips, but Abrielle's poseability is at least much better than it was.
The first thing I check after an armature procedure is whether the doll can still sit, which may be difficult if she was stuffed too tightly. Abrielle can thankfully still sit, but she's also stuffed tightly enough that her cloth body looks natural and doesn't collapse or sag.
Most 3/4 vinyl limb dolls do not have the kind of flat feet formed for standing, so they may need flat-bottomed shoes to help them stand a little more steadily.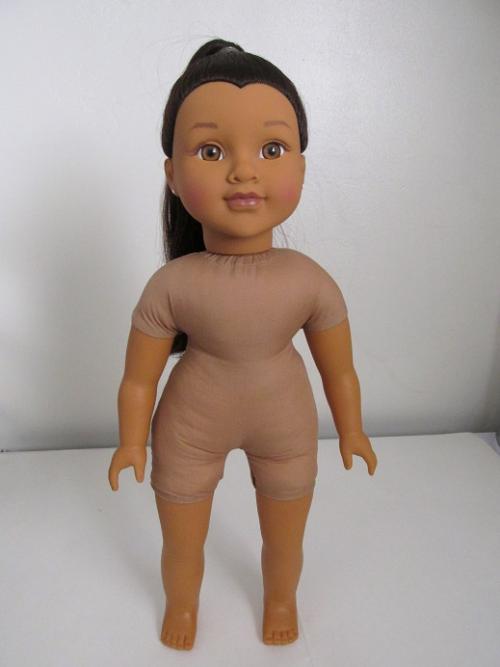
Abrielle can stand well enough, even in her old cloth shoes, and now she and her Divah bffs can do these cute and natural looking poses.


While I always debate whether I want to add an armature to a soft cuddly doll like Positively Perfect Divahs, whose natural state is really very sweet as it is, I eventually always break down and decide to go for it. And I'm always happy I did.
(Apologies for the poor picture quality on some of these photos! My one and only digital camera broke while I was working on my last couple of posts and I had to use my phone's camera as a lame substitute.)
Comments
Nonna (not verified)
Tue, 2019-01-29 10:15
Permalink
thank you
Little Raven
Wed, 2019-01-30 12:14
Permalink
Welcome!
Add new comment